How to Use Google Slides for Basic Image Editing and Video Presentation Creation
Google Slides is widely known as a free, easy-to-use tool for creating presentations. But did you know it can also serve as a simple platform to edit images and create engaging video-style presentations? Whether you want to crop photos, resize images, or arrange visuals for a video project, Google Slides offers user-friendly tools that anyone can master quickly.
This video and article will walk you through how to manipulate images in Google Slides and prepare them for video content or online sharing.
Why Use Google Slides for Image Editing?
Google Slides is cloud-based, requires no installation, and works on any device with internet access. While it does not replace full-featured editors like Photoshop, it provides enough flexibility for basic image adjustments:
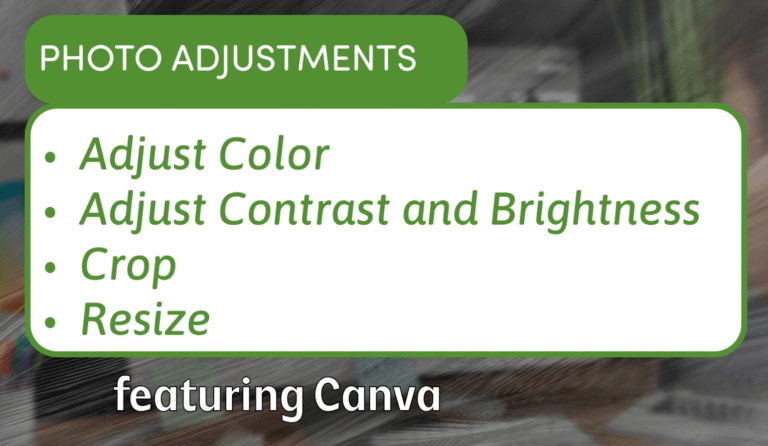
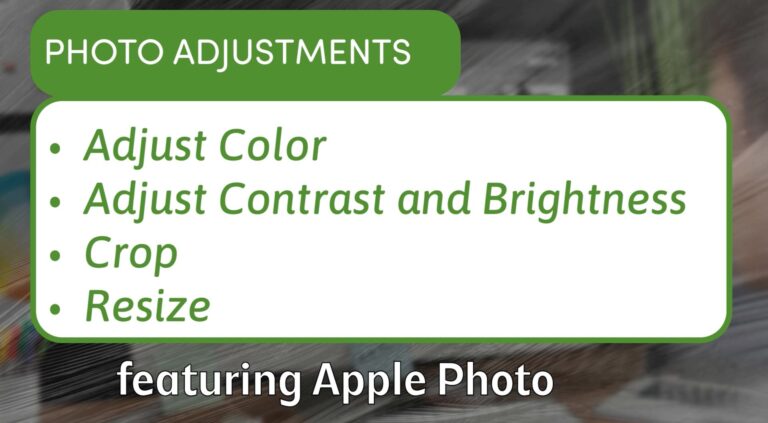
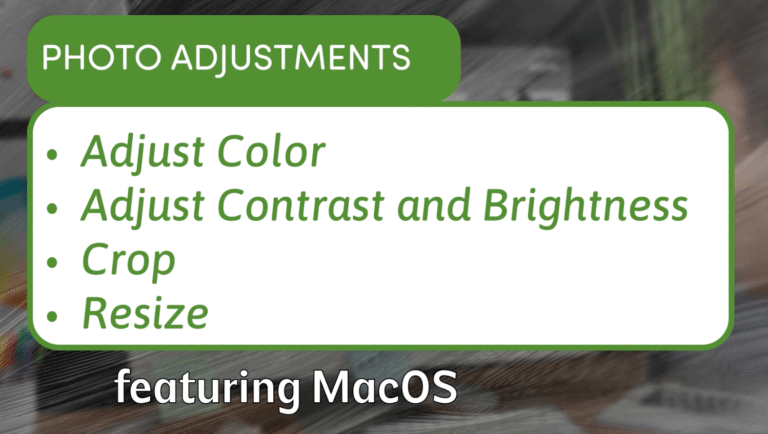
- Cropping and resizing images
- Applying simple visual effects
- Arranging images on slides to create a visual story or storyboard
These capabilities make Google Slides a handy choice for educators, marketers, and creators who want quick, collaborative, and accessible editing without needing specialized software.
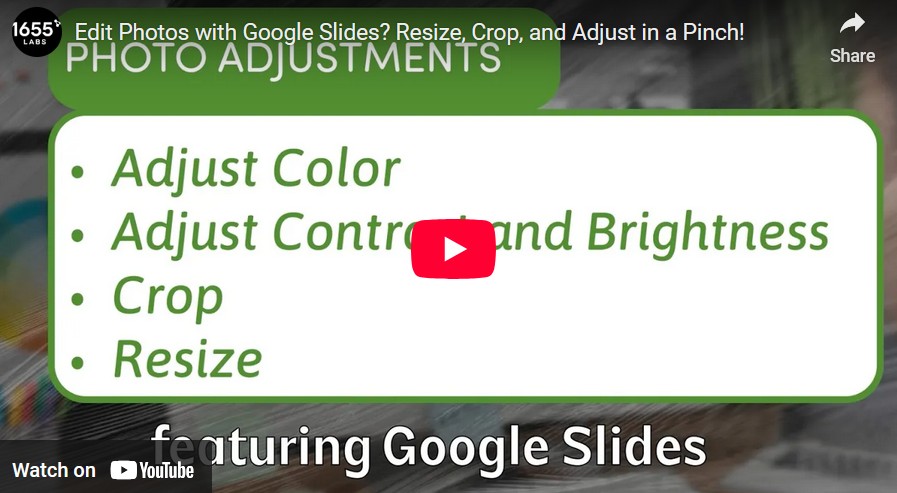
How to Crop and Resize Images in Google Slides
Cropping Images
- Insert your image by clicking Insert > Image and selecting your photo.
- Click on the image to select it.
- Click the Crop image icon in the toolbar (it looks like a square with diagonal lines).
- Drag the black crop handles to trim unwanted parts of your photo.
- Press Enter or click outside the image to apply the crop.
Cropping helps you focus on important parts of an image and adjust its composition for your slide or video frame.
Resizing Images
- Select the image by clicking on it.
- Drag the corner handles to resize while maintaining the aspect ratio.
- Drag the side handles if you want to stretch or squash the image (not usually recommended).
You can also right-click the image and select Format options for precise size adjustments.
Adding Basic Image Effects
Google Slides offers some simple image adjustments:
- Transparency: Adjust the transparency to layer images or soften backgrounds.
- Brightness and Contrast: Slightly adjust these for better visibility or emphasis.
- Recolor: Apply preset color filters to change the look and feel of your images.
These effects can enhance the mood of your presentation or video project with just a few clicks.
Creating Video-Like Presentations in Google Slides
While Google Slides does not directly create video files, you can simulate video effects by:
- Designing sequential slides as video frames or scenes.
- Adding animations and slide transitions to mimic video movement.
- Recording your screen or using tools like Google Slides to Video converters.
This approach is perfect for explainer videos, tutorials, or marketing pitches that need simple visuals and narration.
Exporting Slides for Video or Web Use
Once your slides are ready:
- Export images individually by right-clicking and saving them.
- Export the entire presentation as a PDF or PowerPoint file.
- Use screen recording tools to capture the slide show with animations and voiceover.
These methods help you repurpose your Google Slides work into video content suitable for YouTube, social media, or websites.
Final Thoughts
Google Slides offers more than just traditional presentation tools. Its simple image editing features and easy accessibility make it a practical choice for creators who need to prepare visuals and storyboard content without complex software.
Whether cropping photos, resizing graphics, or designing a slide-based video, Google Slides provides a straightforward platform that anyone can use anywhere.
Try incorporating Google Slides into your workflow and discover how it can boost your creative projects.