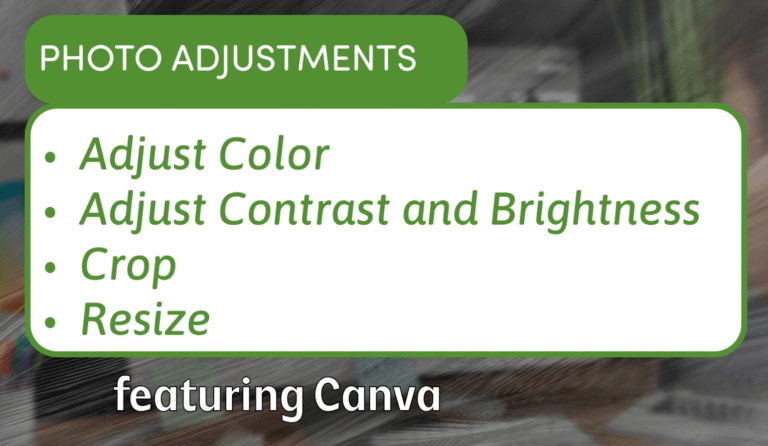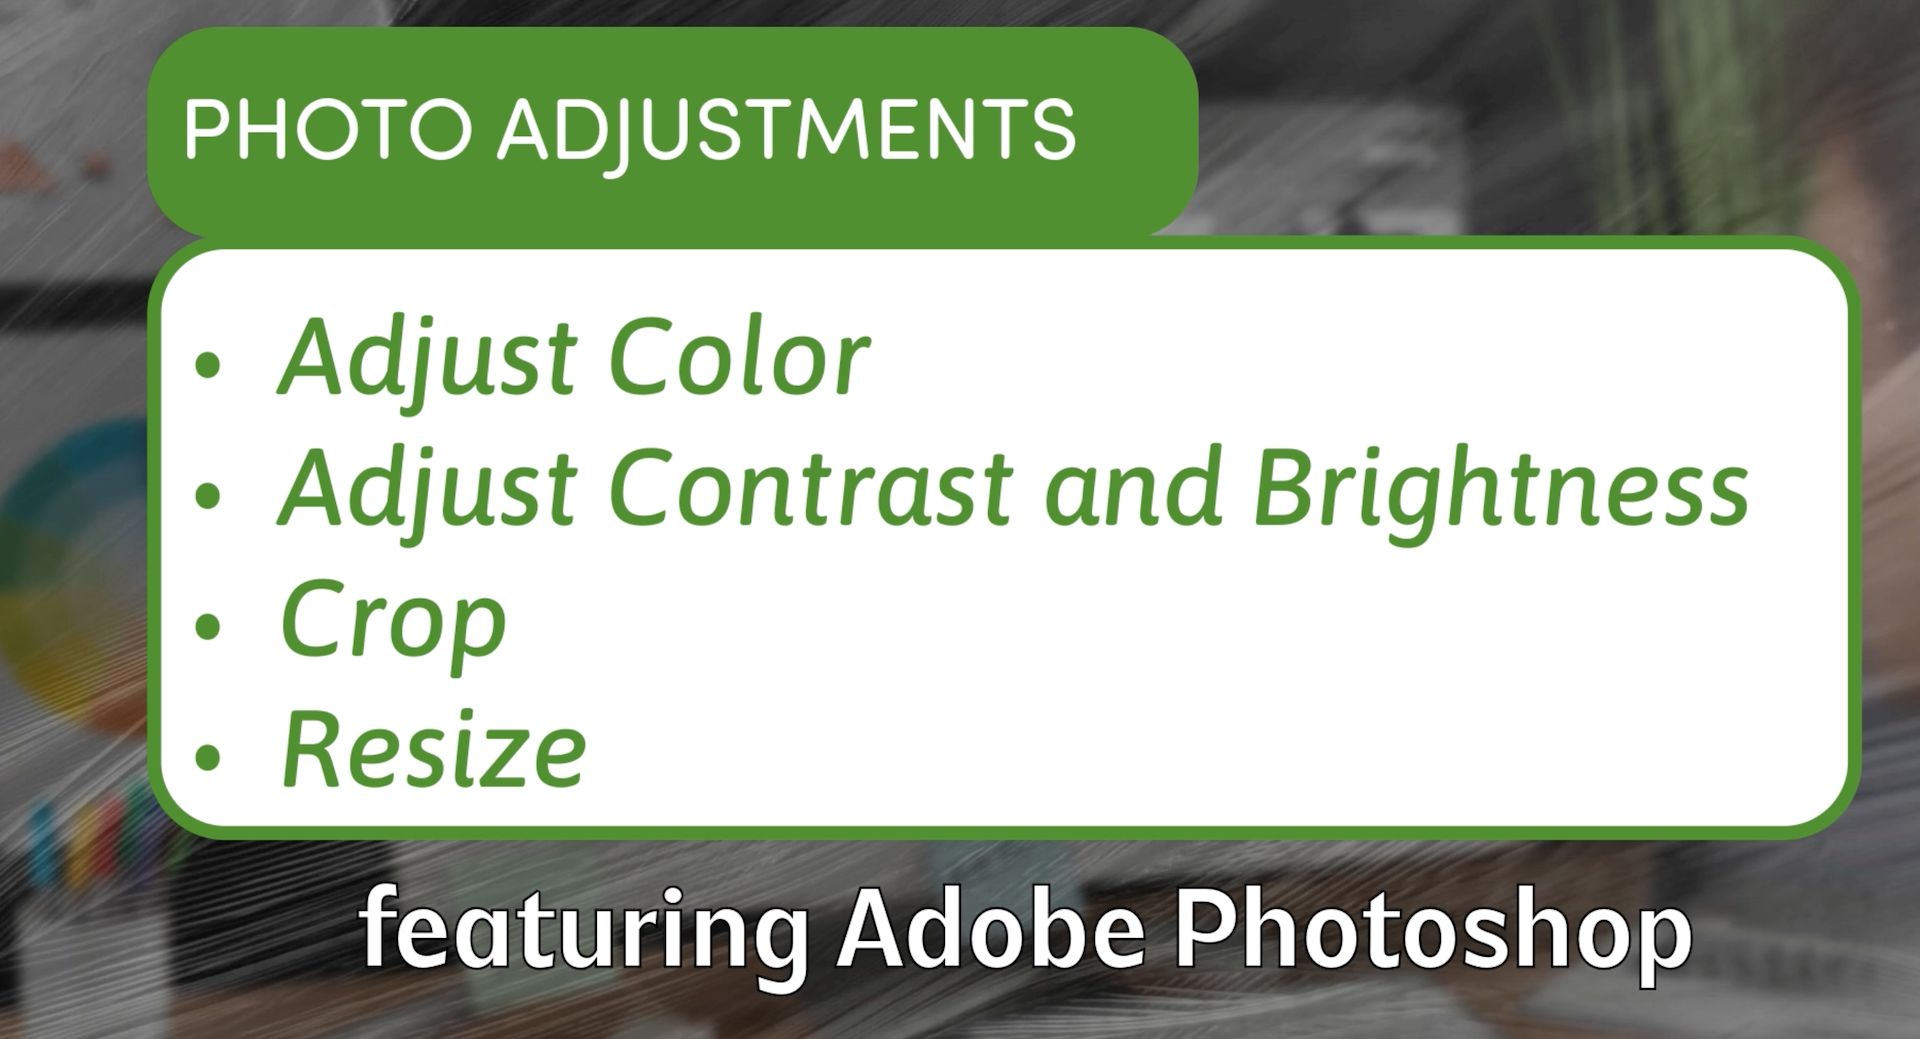
Master Basic Photo Editing in Photoshop: Color, Crop, and Resize
Photoshop is one of the most powerful photo editing tools available, but it can feel overwhelming when you are just getting started. Whether you are a beginner or looking to refresh your skills, mastering the basics—adjusting color, cropping, and resizing—is essential for creating polished images.
In this video and article, we will walk through simple steps in Photoshop to help you enhance your photos by adjusting color and brightness, cropping for the perfect composition, and resizing images for web or video use.
Understanding Your Image Dimensions
Before editing, it’s helpful to know the size of your image. Photoshop displays this in the canvas size, which shows the width and height in pixels. For example, a photo from an iPhone might be 4032 by 3024 pixels, which is quite large and perfect for detailed edits.
Adjusting Color, Brightness, and Contrast
Photoshop offers many tools to tweak your image’s appearance:
- Hue and Saturation: This lets you change the overall color tone and intensity. You can increase saturation to make colors pop or reduce it to tone down the image.
- Brightness and Contrast: Use this to brighten dark areas or add contrast to make your image more dynamic.
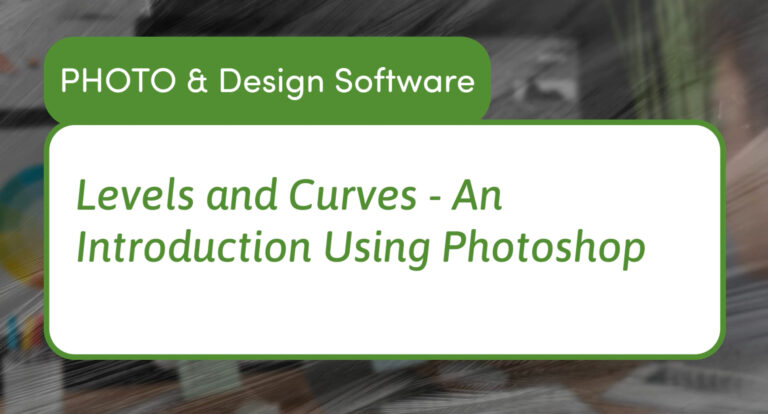
- Levels and Curves: These advanced tools allow precise control over the shadows, midtones, and highlights. Levels give you sliders for input and output ranges, while Curves lets you add multiple points for subtle color and brightness adjustments.
For example, increasing contrast in a photo of the Grand Canyon can make the rock layers more pronounced, adding depth and detail.
Cropping for the Perfect Composition
Cropping is essential to focus attention and improve framing. In Photoshop:
- Select the Crop Tool.
- Choose a fixed aspect ratio like 16:9 for videos or 4:3 for photos.
- Draw the crop box on your image and adjust its position to capture the most important elements.
- Apply the crop.
Cropping also helps prepare images for specific uses, such as social media posts or video thumbnails, where certain aspect ratios are required.
Resizing Images Without Distortion
Resizing allows you to scale images to fit your needs without losing quality:
- Go to Image > Image Size.
- Make sure the aspect ratio is locked (chain icon).
- Enter your desired width or height in pixels (e.g., 1920 x 1080 for HD video).
- Photoshop will automatically adjust the other dimension to prevent stretching.
Exporting Your Edited Image
After editing, export your image:
- Use File > Export > Export As for flexible options.
- Choose JPEG for smaller file sizes or PNG for higher quality with transparency.
- Adjust quality settings depending on your needs (70-80% for web is often enough).
Conclusion
With these basics—color adjustments, cropping, resizing, and exporting—you can confidently edit your photos in Photoshop for any project. Whether you’re preparing images for your website, social media, or video thumbnails, these tools will help you create clean, professional visuals.
Try experimenting with the sliders and tools in Photoshop to see how small changes can greatly improve your photos. With practice, you’ll quickly build your editing skills and bring your images to life.