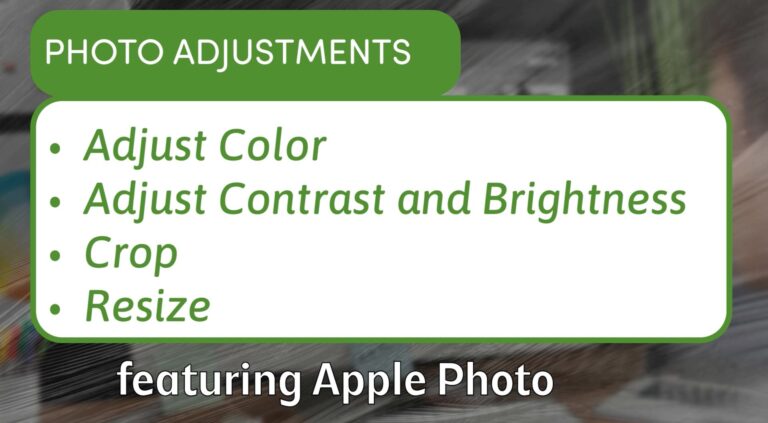
How to Edit Photos on Mac for Free How to Edit Photos Quickly on Mac Using Preview: Adjust Color, Crop, and Resize Images
Many Mac users do not realize that Preview, the default image and PDF viewer on macOS, also includes useful tools for quick photo editing. If you need to make simple adjustments like tweaking color, brightness, cropping, or resizing images without installing extra software, Preview has you covered.
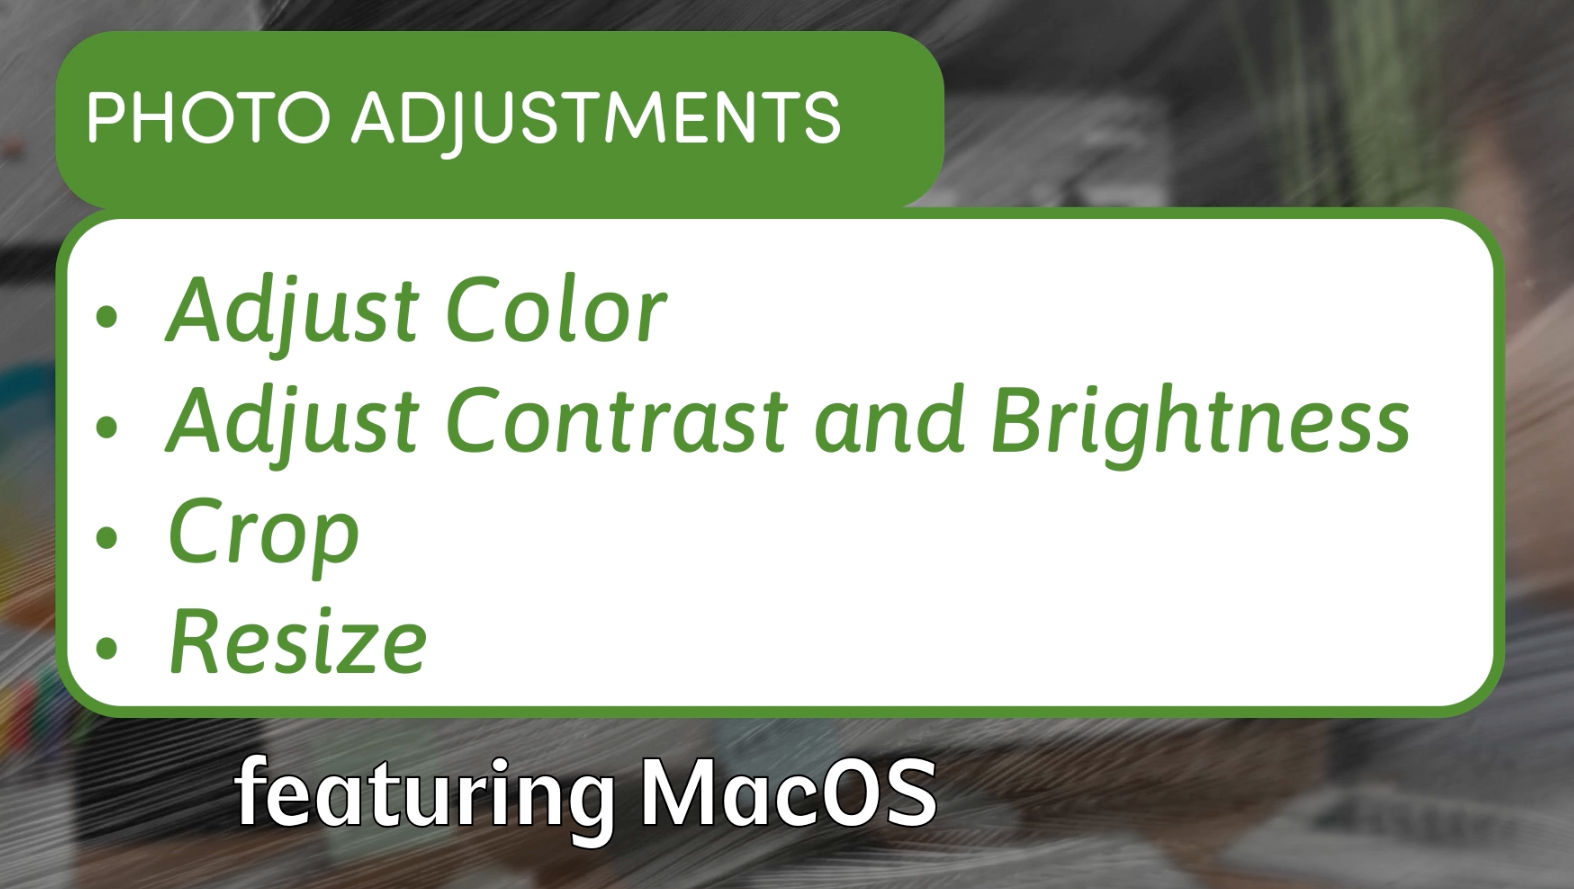
In this article and video, we will guide you through the essential photo editing features built right into macOS Preview, perfect for quick fixes and basic image manipulation.
Opening Your Photo in Preview
Start by locating your image file in Finder. Right-click the photo and choose Open With > Preview to launch it. Once your image is open, you have access to a suite of editing tools hidden under the Markup Toolbar.
Adjusting Color and Exposure
Click the Show Markup Toolbar button (a toolbox icon), then select the Adjust Color icon (a prism). This opens a panel with sliders for:
- Exposure: Brighten or darken the whole image by simulating longer or shorter camera exposure times.
- Contrast: Spread out the light and dark areas for more depth or soften the contrast for a muted look.
- Highlights and Shadows: Fine-tune the brightest and darkest parts of your photo to recover detail.
- Saturation: Make colors more vivid or wash them out toward black and white.
- Temperature: Shift the color balance toward warmer (orange) or cooler (blue) tones.
- Tint: Adjust the green-magenta balance for subtle color correction.
- Sepia: Apply a warm, vintage tone for stylistic effects.
- Sharpness: Enhance details by making edges more defined.
You can experiment with these sliders individually or combine adjustments to improve your photo’s overall look.
Using Levels for Advanced Brightness Control
Preview also includes a Levels adjustment panel at the top of the color sliders. Using Auto Levels can give your photo a quick boost by optimizing brightness distribution, though manual tweaking often yields better results.
Drag the midpoint slider to brighten or darken midtones, or adjust the endpoints to clamp shadows and highlights.
Cropping and Resizing Photos
Preview does not have a dedicated crop tool like some photo editors, but you can crop manually:
- Use the Rectangular Selection tool from the Markup Toolbar.
- Draw the area of the image you want to keep.
- Go to Tools > Crop to trim your image to the selected region.
For resizing, choose Tools > Adjust Size where you can set new dimensions in pixels, percentage, or print size. Make sure the Scale proportionally option is checked to avoid distorting your image.
Best Practices for Cropping and Resizing
If you need a specific aspect ratio (such as 16:9 for video thumbnails), use the selection tool to approximate that size by watching the pixel dimensions shown in the bottom right as you drag. Crop first, then resize to your exact dimensions.
Exporting Your Edited Images
When your edits are complete, save your image with File > Export. Preview lets you choose file format (JPEG, PNG, TIFF, etc.) and quality to optimize for file size or image fidelity.
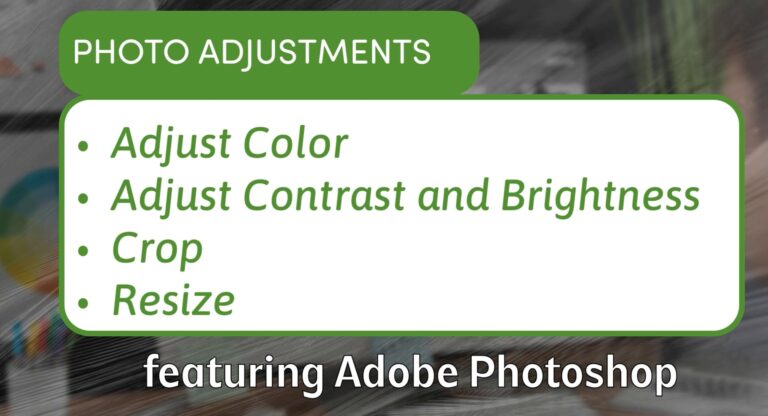
Why Use Preview for Photo Editing?
Preview is fast, free, and already installed on every Mac. While it lacks advanced features of Photoshop or dedicated photo editors, it is perfect for:
- Quick adjustments to photos or screenshots
- Cropping and resizing images for social media or presentations
- Making simple color and exposure fixes without extra software
Conclusion
macOS Preview is a surprisingly versatile tool that can handle many basic photo editing tasks without fuss. With simple sliders for color adjustment, easy cropping and resizing, and direct exporting options, it is a handy app for anyone who needs to quickly polish photos on a Mac.
Next time you open an image, give Preview’s markup and color tools a try—you might be surprised what you can do without leaving the app.